
Annotations
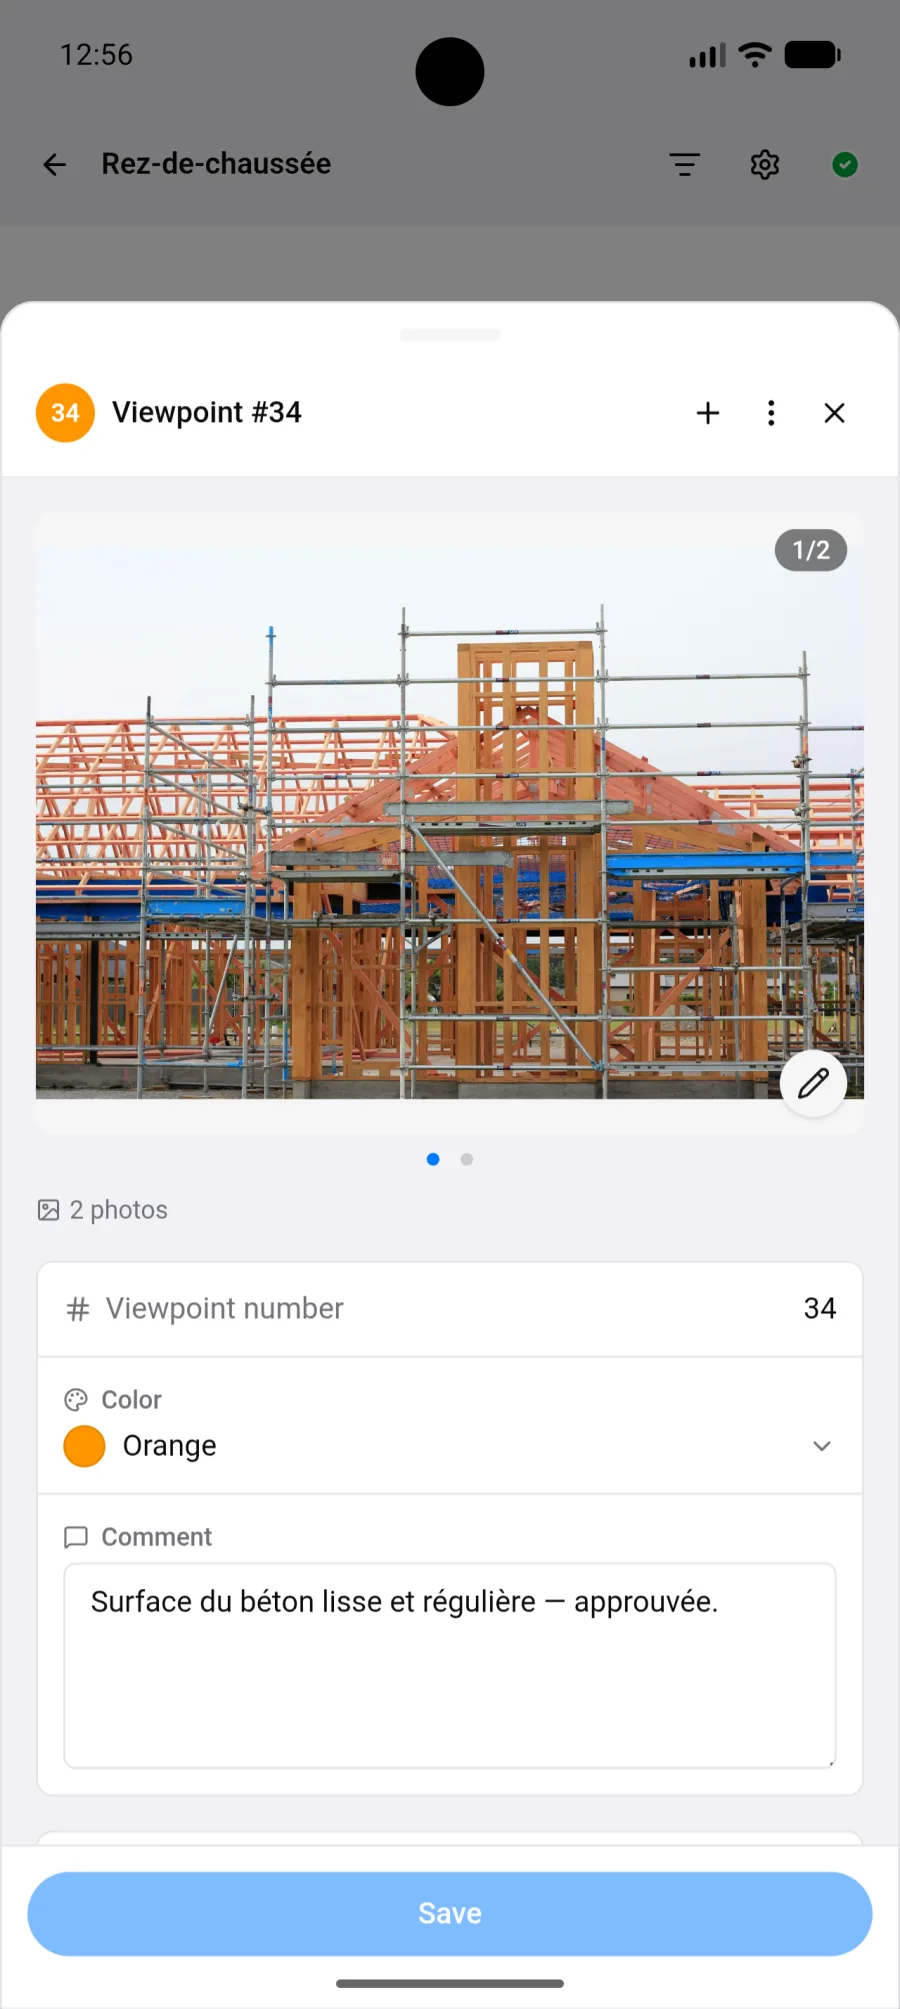
An annotation, called a viewpoint in the app, is a numbered marker placed on a plan. It is the container for everything else: the comment, the photos, the videos and the audio comment.
Creating a viewpoint
Section titled “Creating a viewpoint”- Put the plan in Visit mode.
- Tap the plan where you want it.
- Drag around the marker to give it a viewing direction, if that is useful.
- Take your photos, then type or dictate the comment.
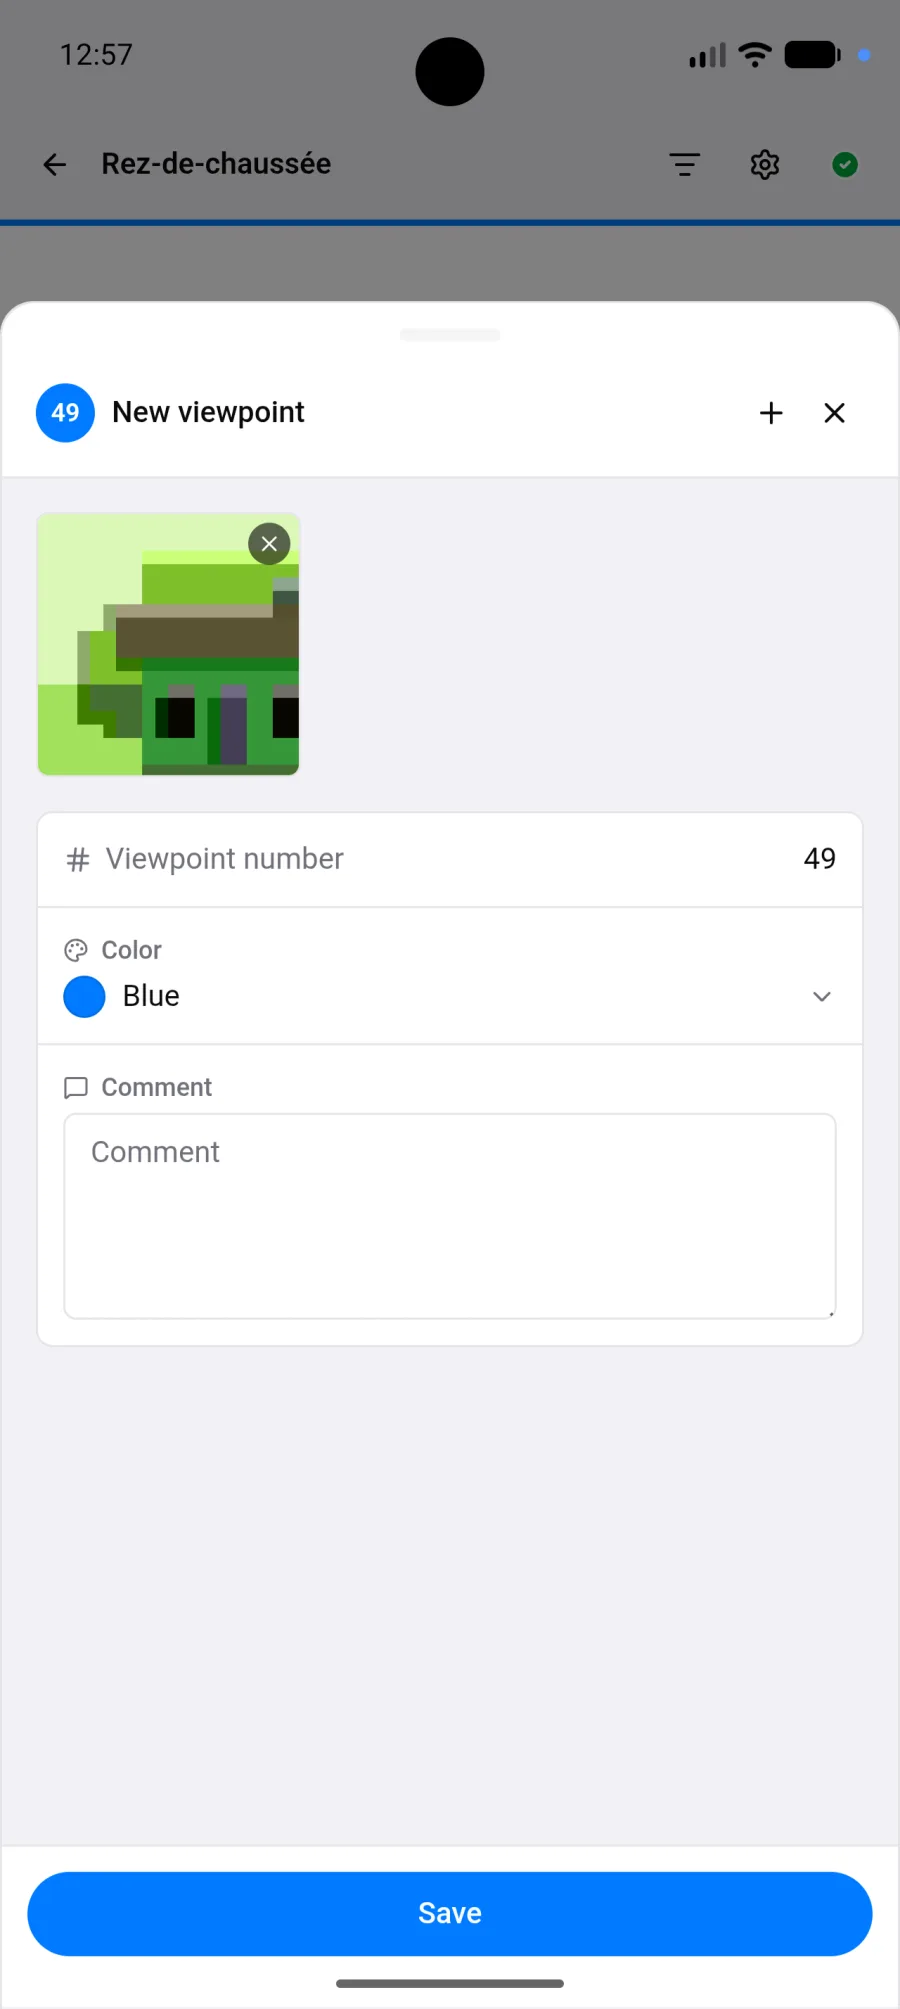
Numbers are assigned automatically in creation order.
The detail panel
Section titled “The detail panel”Tapping a marker opens its panel, which contains:
- The number and the colour.
- The author and the creation date, plus whoever last modified it.
- The comment, editable.
- The viewing direction.
- The media gallery.
Colour and direction
Section titled “Colour and direction”- Colour: the project’s default colours and its custom colours. Default uses the plan’s or the project’s colour.
- Direction: drag around the marker to orient the triangle. No direction leaves just the circle.
Use colour as a code, by trade or by urgency: the viewer’s filters and the export’s filters both rely on it.
Adding media
Section titled “Adding media”- Take a photo with the phone’s camera.
- Add photos from the gallery.
- Add a video.
- Record an audio comment, the fastest option when your hands are full.
See Photos and videos and Audio comments.
Moving and deleting
Section titled “Moving and deleting”- Move this viewpoint repositions the marker on the plan.
- Delete this viewpoint removes the marker while keeping its photos in the project.
- Delete this viewpoint and all its photos removes everything.
Without a network
Section titled “Without a network”You can create and edit viewpoints offline. They carry the pending sync note until the connection returns. See Offline mode.