
Plan viewer
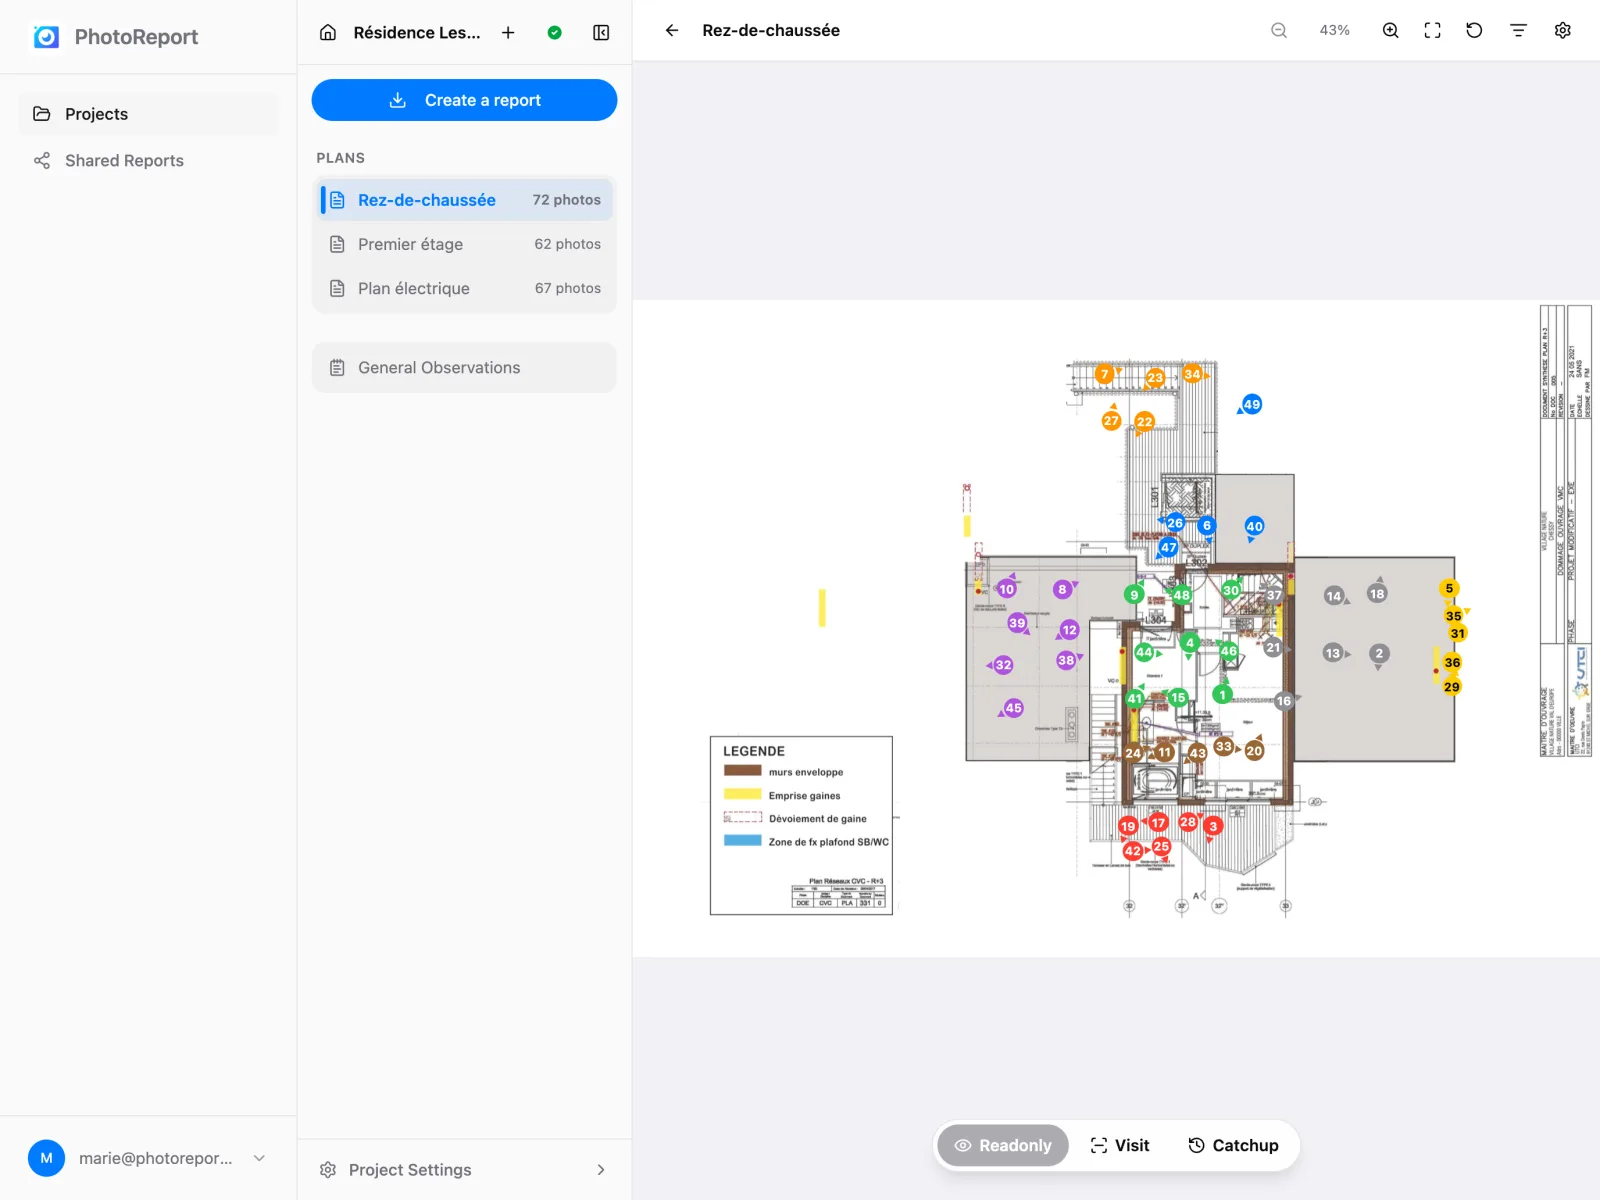
The viewer shows a plan in high definition with all its annotations. It is the screen where you spend the most time: you review the team’s work there and add your own.
Navigating the plan
Section titled “Navigating the plan”- Zoom: the zoom buttons in the toolbar, or the mouse wheel. Zoom runs from 25 % to 400 %.
- Fit to width: fits the plan to the width of the window.
- Reset zoom: returns to the starting view.
- Pan: click and drag.
The toolbar
Section titled “The toolbar”On the right of the toolbar, after the zoom controls:
- + (Add viewpoint): starts a new viewpoint. In Readonly mode it first asks whether you want Visit or Catchup. See Annotations.
- Observations on this plan: opens the Observations list scoped to this plan. The back button brings you back to the drawing.
- Filters: see Filtering.
- Plan settings: see Plan settings.
The three working modes
Section titled “The three working modes”A selector at the bottom of the screen decides what a click on the plan does.
| Mode | What it is for |
|---|---|
| Readonly | Consulting without changing anything. Clicking a marker opens its detail. This is the default mode |
| Visit | The everyday working mode. Clicking the plan creates a viewpoint there |
| Catchup | For picking up photos taken earlier. You import them in bulk and attach them to viewpoints |
In Visit mode, a bubble reminds you of the expected gesture: click to create a viewpoint, then drag around the marker to choose its viewing direction.
Annotations on the plan
Section titled “Annotations on the plan”Annotations appear directly on the plan as numbered markers: a circle carrying the number, and a triangle showing the viewing direction when one is set. Colours and sizes are identical to the mobile app’s.
Click a marker to open its detail panel. Right-click it (or press and hold it on a touch screen) for its menu: Open, Move, Orientation, Color, Add photos, Comment, Record and Delete. The menu works in every mode, Readonly included. See Annotations.
When you arrive from Show on plan in the Observations list, the plan zooms onto that viewpoint and a ring pulses around it.
Filtering
Section titled “Filtering”The Filters button opens a panel showing only the annotations you want:
- Date: those created on a given day.
- Author: those from one team member in particular.
- Media: those containing a photo, a video or an audio clip.
- Colour: one or more colours, including the project’s custom colours.
Filters stack. Clear all removes them at once.
Plan settings
Section titled “Plan settings”The Plan settings menu gathers the settings specific to this plan.
- Annotation size: from XS to XL. Choose according to the plan’s density, a very busy plan benefits from smaller markers.
- Default annotation color: the colour of new viewpoints on this plan. By default, the project’s.
- Rotate to the left: turns the PDF by 90°. The rotation applies for every collaborator and takes a few seconds.
- Reorder annotation numbers: reassigns numbers from 1 to N in the current order. This cannot be undone.
- Rename: changes the plan’s name.
- Delete: deletes the plan, after a confirmation that says how many viewpoints and photos go with it.
Rename and Delete are the same actions as in the plan’s ⋮ menu on the project screen. A deleted plan can be brought back with Undo for 8 seconds, then from Project settings > Recently deleted for 7 days. See Recently deleted.
Very heavy plans
Section titled “Very heavy plans”Some plans exported from CAD software contain hundreds of thousands of distinct strokes. A browser cannot display them in reasonable time, and on mobile the tab may even give up.
For these plans PhotoReport prepares a lighter copy server-side, generated once at import. The dashboard shows that instead of the original file, which stays intact and remains the reference for downloads and for the ZIP archive of your reports.
If a plan’s data cannot be displayed at all, the viewer falls back to its preview and tells you, with a Retry button. In that case adding and moving markers is disabled, because the preview may correspond to an earlier version of the document.