
Create your first project
A project in PhotoReport groups everything related to a job site or inspection: plans, annotations, photos, videos and audio comments.
You can create it from whichever device suits you: the iOS app, the Android app or the web dashboard. The steps are the same everywhere.
Try a sample project
Section titled “Try a sample project”While you have no projects, the home screen offers a Try a sample project button. In one tap, PhotoReport creates a demo project already filled in, with a plan, viewpoints placed on real rooms, photos and comments.
It is the fastest way to see what a finished project looks like before creating your own. It is fully editable and deletable, and you can only create one.
Create a project
Section titled “Create a project”-
Open the PhotoReport app. You land on the home screen, which shows your list of projects (empty for now).
-
Tap the New Project button (the blue button with a +).
-
Enter the project name: this is the only required field. Choose a clear name, for example the site name or address.
-
Optionally, add information (visit date, lot number, remarks) and a cover photo to recognise the project at a glance.
-
Tap Create Project. Your project is ready.
Document the job site
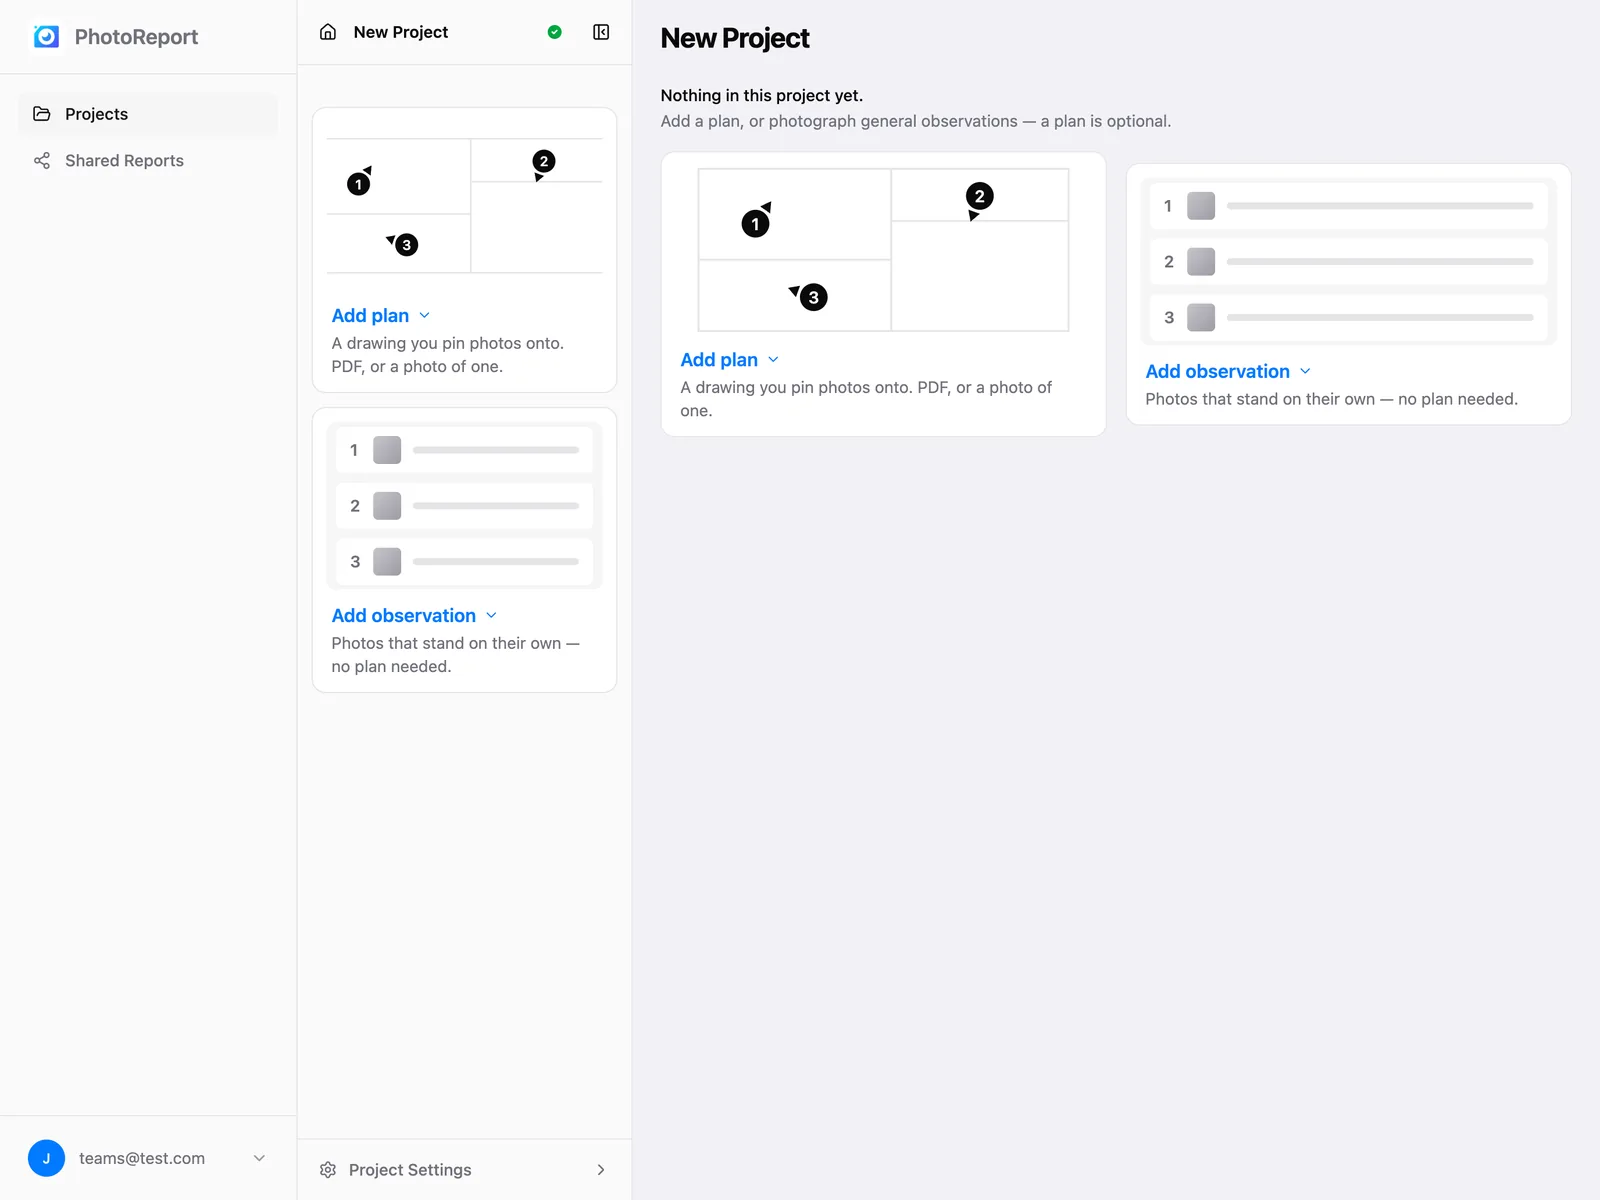
Section titled “Document the job site”You’re now inside your project. It starts empty, with two cards:
- Add a plan (on the web and Android: Add plan): a drawing you pin photos onto, as a PDF or a photo of one.
- Add a general observation (on the web and Android: Add observation): photos that stand on their own, no plan needed.
A plan is optional. Start with whichever fits your visit, and add the other later. On iOS, the project’s + button offers both at any time.
Import a plan
Section titled “Import a plan”Add a PDF or image as a reference. You can then place markers directly on the plan to locate each observation.
A multi-page PDF gives one plan per page. See the details for iOS, Android or the web dashboard.
Add annotations
Section titled “Add annotations”Annotations, called viewpoints in the interface, are numbered markers that you place on a plan. Each one can contain photos, videos and an audio comment. Tap + in the plan’s toolbar, then tap the plan where the viewpoint belongs. Press and hold a viewpoint (or right-click it in the browser) for everything else you can do to it: move it, change its color, add a photo, comment, delete. See the details for iOS, Android or the web dashboard.
Take photos and videos
Section titled “Take photos and videos”From a viewpoint, take a photo or video without leaving the app. It is automatically linked to the viewpoint, and therefore located on the plan.
You can take several photos in a row for the same viewpoint: on iOS, tap Add another photo after the first shot and the camera stays open until you tap Done; on Android, choose Take photos and the camera reopens after each shot until you back out of it.
In the browser, shooting is not possible: you add files already on your computer.
Add general observations
Section titled “Add general observations”A general observation is documented like a viewpoint (photos, videos, audio comment, comment), but it is not placed on a plan. Use it for findings about the site as a whole, or to start documenting before you have the plans. Choose Observation with a photo or Observation without a photo from the start card, or later from the + in the Observations list.
You can pin a general observation to a plan later, once you have one, from the Observations list below.
Find everything in one list
Section titled “Find everything in one list”The project’s Observations list gathers every viewpoint on every plan and every general observation, with search and filters. Use it to review your visit before exporting. See the details for iOS, Android or the web dashboard.
Export a report
Section titled “Export a report”When your documentation is complete, you can generate a report from the project:
- PDF: a formatted document ready to send by email.
- HTML: a web page viewable in any browser.
- ZIP: an archive containing the report and all associated files.
With a Pro or Teams subscription you can also publish a password-protected link, which your client opens without an account or an install. See Share a report.
What’s next?
Section titled “What’s next?”- Create an account to find your projects again on all your devices.
- Explore each feature in detail: iOS app, Android app, web dashboard.